WAS Auto WAS Auto

How to Change Brake Shoes on Drum Brake Step by Step Guide?

Time:2026-08-09 Author:Henry
0%

When it comes to vehicle maintenance, knowing how to change brake shoes on a drum brake is essential. This process not only enhances safety but also improves your driving experience. Changing brake shoes may seem daunting, but with the right guidance, anyone can master it.

Understanding the components of your brake system is vital for a successful repair. Brake shoes are crucial for stopping power. Over time, they can wear out and affect performance. A reliable way to ensure your brakes function properly is through regular inspections and timely replacements.

This guide provides a step-by-step approach to changing brake shoes. You will learn essential tips, tools needed, and common mistakes to avoid. Engaging in DIY maintenance can be rewarding, but it requires attention to detail. As you navigate this repair, reflect on each step. This way, you can develop your skills and gain confidence in automotive care.
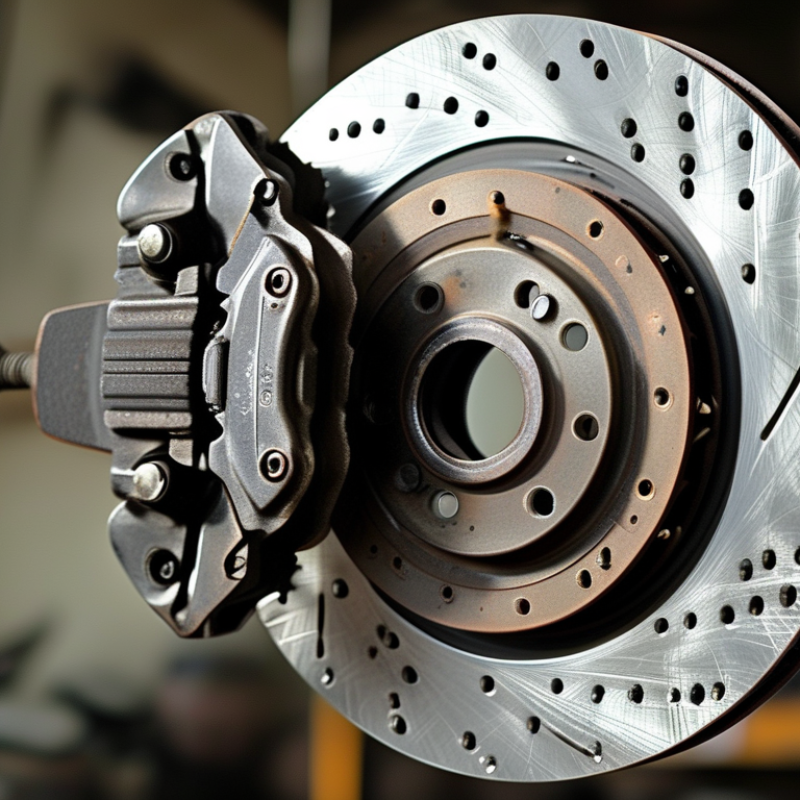
How to Change Brake Shoes on Drum Brake Step by Step Guide?

Understanding Drum Brake Systems and Their Components

Drum brake systems play a vital role in vehicle safety. They consist of several key components, such as brake shoes, drums, and springs. Understanding these parts can help you maintain your vehicle effectively. The brake shoes press against the drum to create friction, slowing down the wheel's rotation. When these shoes wear out, braking performance deteriorates.

It’s essential to regularly inspect your drum brake components. Look for signs of wear or damage. Replace brake shoes if you see substantial wear on the friction material. Ensure that springs and adjusters function correctly. Faulty components can lead to uneven braking and may cause mishaps.

Tips: Always work on a stable surface. This can prevent accidents during repairs. Keep a clean workspace; debris can compromise brake function. If it feels overwhelming, consult a professional. Taking these steps can promote safety and extend the lifespan of your braking system.

Essential Tools and Safety Precautions for Brake Shoe Replacement

When replacing brake shoes on drum brakes, ensuring safety is paramount. Start with essential tools like a jack, lug wrench, and brake cleaner. These tools will help you during the entire process. A well-lit workspace is crucial for visibility and safety.

Before getting started, wear gloves and safety goggles. This protects against dust and debris while working. Make sure the vehicle is on stable ground. Always engage the parking brake to prevent unexpected movement.

Tips: Use a sturdy jack to support the vehicle. If unsure about any step, consult a reliable manual. Each step carries a risk, so take your time. Don’t rush the process; errors can be costly. Thinking ahead makes a significant difference.

Step-by-Step Removal of Old Brake Shoes and Assembly Disassembly

Changing brake shoes on drum brakes can seem daunting, but following detailed steps makes the process manageable. Begin by ensuring you have the necessary tools, including a jack, brake spring tool, and a torque wrench. Maintaining proper brake function is crucial; reports indicate that worn or damaged brake shoes can increase stopping distances by over 20%. This highlights the importance of regular maintenance.

When removing old brake shoes, carefully detach the retaining springs and fine-tune your technique to avoid bending any components. Observation is key. Inspect the drum for wear and ensure it meets safety standards. According to industry standards, drums should not have grooves deeper than 0.040 inches. Execute the removal slowly to prevent parts from scattering, leading to potential misplacement.

Reassembly requires attention. Ensure that all springs and retaining hardware are securely attached. This step often faces oversight; minor mistakes can lead to significant braking issues. Proper alignment of the new shoes is vital. Once installed, test the assembly before fully reassembling your wheel. Taking these meticulous steps helps in achieving efficiency and safety, underscoring that every component matters for effective braking.

Brake Shoe Replacement Duration

Installing New Brake Shoes: Alignment and Adjustment Techniques

When installing new brake shoes, alignment and adjustment are crucial for safety. Brake shoes should fit snugly against the drum. Start by ensuring the shoes are the correct size for your vehicle. Loose shoes can lead to poor braking performance.

After placing the new shoes, adjust the star wheel mechanism. This controls how tightly the shoes are pressed against the drum. Turn it slowly and check the fit frequently. Too tight? You risk overheating. Too loose? You may experience reduced braking power.

Additionally, ensure all components are clean. Dust and grime can affect the performance. Sometimes, a little rust can interfere with proper alignment too. It’s essential to double-check the installation. Relying on intuition instead of measurements can lead to mistakes. Take your time, and inspect everything thoroughly. Proper adjustments enhance both safety and vehicle reliability.

Testing and Maintenance Tips for Drum Brakes Post-Replacement

After changing brake shoes on your drum brakes, it's crucial to focus on testing and maintenance to ensure safety and longevity. According to industry reports, improper maintenance can lead to brake failure in 25% of vehicles. Thus, regular checks are essential.

Begin with a proper brake pedal test. Press it multiple times and ensure it feels firm. A spongy or soft pedal can indicate air in the brake lines. Check for unusual noises such as squealing or grinding, which may suggest misalignment.

Tips: Regularly inspect the brake fluid level. It should be within the recommended range. Low fluid can affect braking performance. Look out for leaks around the wheel cylinders too. It’s wise to clean the drum surfaces with brake cleaner after any maintenance. This removes dust and debris. Remember, neglecting small issues could lead to larger, costly repairs.

Regular inspections of the brake shoes are also vital. They should wear evenly. Industry standards suggest changing them every 30,000 to 70,000 miles. If you notice uneven wear, it might indicate a problem with the drum itself. Always address these issues promptly; they can affect the overall safety of your vehicle.

How to Change Brake Shoes on Drum Brake Step by Step Guide? - Testing and Maintenance Tips for Drum Brakes Post-Replacement

Step Description Tools Required Maintenance Tips
1 Loosen lug nuts and lift the vehicle. Lug wrench, jack Ensure vehicle is on a stable surface.
2 Remove the wheel to access the brake drum. Screwdriver, pliers Check for any visible damage around the wheel area.
3 Detach the brake drum. Hammer (if necessary for rust) Inspect brake drum for wear and tear.
4 Remove old brake shoes. Socket set, brake spring tool Keep track of how the old shoes are mounted.
5 Install new brake shoes. Brake shoes, brake grease Apply brake grease to contact points.
6 Reattach the brake drum and wheel. Basic hand tools Tighten lug nuts in a star pattern.
7 Lower the vehicle and test brake functionality. None Brake test for even and responsive braking.

FAQS

: What are the main components of a drum brake system?

: The main components include brake shoes, drums, and springs. These parts work together to ensure safe braking.

Why is it important to inspect drum brake components regularly?

Regular inspection helps identify wear or damage. This maintenance is essential for optimal braking performance.

How can I tell if my brake shoes need replacing?

Look for significant wear on the friction material. If you see this wear, it’s time to replace the brake shoes.

What tools do I need for brake shoe replacement?

Essential tools include a jack, lug wrench, and brake cleaner. These tools will help you throughout the process.

What safety precautions should I take while working on brakes?

Always wear gloves and safety goggles. Ensure the vehicle is stable, and engage the parking brake to prevent movement.

How should I align new brake shoes?

Ensure the shoes fit snugly against the drum. Adjust the star wheel mechanism for proper tightness. This prevents overheating or reduced braking.

Why is a clean workspace important during brake repairs?

A clean workspace prevents debris from affecting brake function. Dust and grime can compromise safety and performance.

What should I do if I feel overwhelmed by the repair process?

If uncertain, consult a professional or a reliable manual. Taking your time is crucial; don't rush through the steps.

How can incorrect installation affect braking performance?

Loose shoes can lead to poor performance; too tight can cause overheating. Always double-check your adjustments for safety.

Can rust affect the brake shoe installation?

Yes, rust can interfere with proper alignment. Ensure all components are clean to enhance performance and reliability.

Conclusion

This article provides a comprehensive guide on how to change brake shoes on a drum brake, ensuring both safety and efficiency throughout the process. It begins with an understanding of drum brake systems and their key components, which is essential for any effective repair. Before starting the replacement, readers are advised to gather the necessary tools and follow safety precautions to prevent accidents.

The step-by-step instructions detail how to properly remove old brake shoes and disassemble the drum brake assembly, followed by guidelines for installing new brake shoes. This includes techniques for alignment and adjustment to ensure optimal performance. Finally, the article emphasizes the importance of testing and maintenance tips for drum brakes after replacement, equipping readers with the knowledge to keep their braking system in top condition.

Henry

Henry

Henry is a dedicated marketing professional with a profound expertise in the company's offerings. With years of experience in the industry, he possesses an impressive understanding of the market dynamics and consumer behaviors that drive success. Henry is committed to sharing his insights through......