 WAS Auto
WAS Auto
WAS Auto
Learning how to break in new brake pads and rotors is an important part of restoring safe, predictable braking. Fresh friction surfaces need controlled contact before they perform consistently. Without proper bedding, pads may develop uneven deposits, while rotors can show hot spots or discoloration. The result may include vibration, noise, or reduced braking confidence.
The process is simple, but it should never be rushed. A suitable road, clear visibility, and a fully inspected brake system matter more than aggressive driving. Follow the vehicle and brake manufacturer’s instructions, because pad compounds and rotor materials vary. A typical bedding procedure uses several moderate slowdowns, followed by brief cooling periods. Avoid holding the brake pedal firmly after a hard stop, especially when the brakes are hot. That detail is easy to miss.
Small details matter.
Drivers should monitor pedal feel, steering vibration, unusual smells, and stopping performance during the process. A mild odor can occur as the materials heat, but smoke, severe pulling, grinding, or a soft pedal requires immediate attention. Do not continue testing if the vehicle feels unsafe. Some bedding guides recommend specific speeds and repetitions, yet traffic conditions may make those steps unsuitable. Use judgment, leave generous space, and never treat public roads like a test track.
This guide presents seven practical tips for bedding new pads and rotors responsibly. It also explains common mistakes and when a professional inspection is the wiser choice. Brakes are safety-critical components. Careful preparation beats confidence alone.
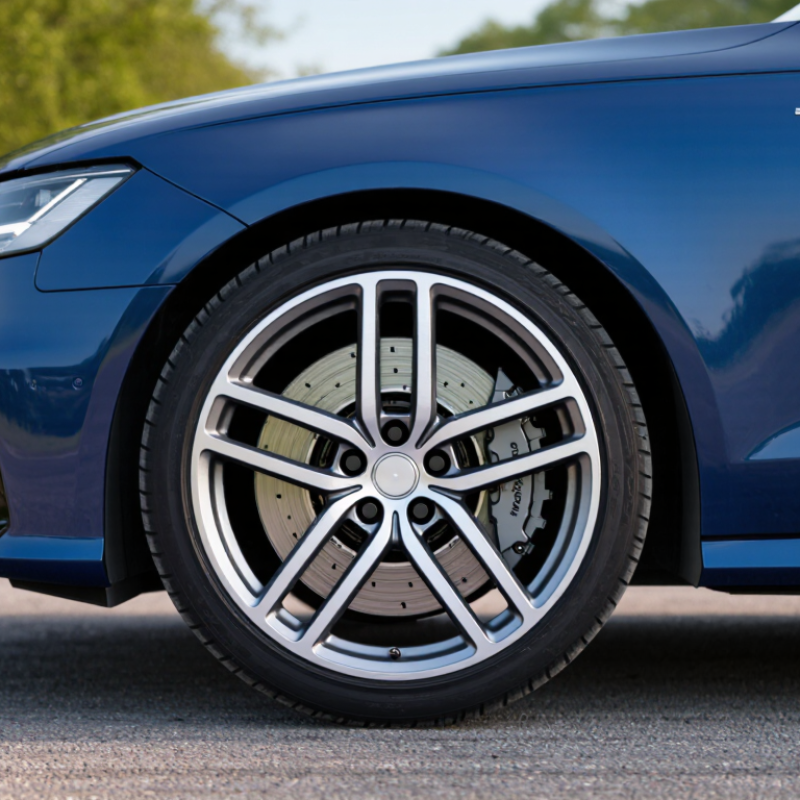
How to Break In New Brake Pads and Rotors: 7 Tips
New brake pads and rotors need a proper break-in because their surfaces are not perfectly matched. Bedding creates a controlled transfer layer on the rotor. This layer improves friction, pedal consistency, and heat management. Without it, braking may feel weak or uneven. FMVSS No. 135 from the U.S. Department of Transportation uses a defined burnish phase before performance testing. Its passenger-vehicle standard includes a stopping-distance limit of 216 feet from 60 mph for applicable vehicles. That result depends on conditioned brakes, not freshly installed parts. SAE brake-testing procedures also evaluate friction changes across repeated stops, showing why temperature and surface contact matter.
Tips: Follow the installer’s procedure. If none exists, use several moderate stops from about 30–40 mph. Leave enough space between stops for airflow. Avoid panic braking. Do not hold the pedal at a complete stop after heavy braking. That can press hot pad material against one rotor area. A quiet road helps, but public traffic must always control the pace.
I have seen new brakes feel excellent after two stops, then develop vibration later. That first impression can be misleading. The rotor may still need an even transfer layer. Watch for smoke, harsh odor, or a soft pedal. Stop safely if they appear. Bedding is not a repair for seized hardware, contaminated friction material, or incorrect installation. A careful inspection still matters. The process is simple, but rushing it is where many problems begin.
| Tip | Break-In Step | Recommended Action | Why It Matters | Important Safety Check |
|---|---|---|---|---|
| 1 | Inspect the Installation | Before driving, confirm that the pads, rotors, caliper hardware, retaining clips, and wheel fasteners are installed correctly. Make sure the rotor faces are clean and free from oil, grease, paint, or protective shipping residue. | Contamination or incorrect hardware can prevent even pad contact, reduce friction, create noise, and cause uneven wear. | Check brake-fluid level and inspect for leaks. Press the brake pedal several times until it feels firm before moving the vehicle. |
| 2 | Start With Gentle Stops | Drive in a safe, low-traffic area and make several light-to-moderate stops from approximately 30–40 km/h (20–25 mph). Allow the vehicle to slow smoothly without activating the anti-lock braking system. | Initial stops help the pad and rotor surfaces begin forming a compatible contact layer without creating excessive heat. | Maintain a safe following distance and avoid testing the brakes at high speed during the first few stops. |
| 3 | Build Heat Gradually | Perform several moderate stops from approximately 50–65 km/h (30–40 mph), using firm, controlled pedal pressure. Continue only if the pedal remains firm and the vehicle stops normally. | A gradual increase in temperature helps establish consistent friction between the pad material and the rotor surface. | Do not hold the brake pedal down continuously or repeatedly apply maximum braking unless an emergency requires it. |
| 4 | Follow the Correct Stop Pattern | Use the break-in sequence specified by the brake component manufacturer whenever available. If no procedure is supplied, use controlled moderate stops rather than aggressive high-speed stops. | Pad compounds and rotor materials differ, so the required number, speed, and intensity of stops are not identical for every application. | The vehicle must remain controllable throughout the procedure. Stop the process if steering pulls, severe vibration, grinding, or abnormal pedal movement occurs. |
| 5 | Allow Cooling Time | After the controlled stops, drive at a moderate speed with minimal brake use for several minutes. Park only after the brakes have had time to release heat, and avoid keeping the pedal pressed while stationary. | Cooling reduces the risk of excessive heat buildup, pad glazing, uneven deposits, and temporary brake fade. | Do not pour water on hot rotors. Sudden cooling can thermally shock components and may contribute to distortion or cracking. |
| 6 | Avoid Heavy Loads at First | For the initial driving period, avoid towing, steep downhill routes, repeated emergency stops, and carrying unusually heavy loads unless necessary. | Extra vehicle weight and repeated braking generate more heat before the new friction surfaces have fully stabilized. | Use a lower gear on long descents where appropriate, while continuing to monitor brake response and temperature-related changes. |
| 7 | Check Performance After Break-In | Once the brakes have cooled, verify that stopping is smooth and straight. Listen for persistent grinding or severe squealing, and inspect for abnormal scoring, blue discoloration, or uneven pad contact. | A final check can reveal installation problems, contamination, caliper issues, or overheating that a normal break-in drive may not correct. | Do not continue driving if the pedal feels soft, the vehicle pulls strongly, braking power is reduced, or warning lights appear. Have the braking system inspected by a qualified technician. |
It creates a more even friction layer on the rotor. This may reduce vibration, uneven wear, and early glazing.
Choose a quiet, legal road with clear visibility. Avoid traffic, rain, loose gravel, and steep slopes.
Make several medium stops from about 50–60 km/h. Leave roughly 30 seconds between stops for airflow.
No. Avoid panic braking and wheel lockup. The vehicle should remain stable, with a firm pedal.
Make two or three stronger decelerations from about 70 km/h. Stop before instability or lockup occurs.
Drive for about 10 minutes to cool the system. Do not hold the pedal firmly while stopped.
Stop for smoke, sharp chemical odors, pulling, or a soft pedal. Let the brakes cool completely.
Start with cool brakes in an empty, legal area. Make moderate stops from about 30 mph and confirm smooth, straight stopping.
Look for a light, even transfer film. Blue patches, deep scoring, or dark bands need professional inspection.
It may indicate dragging hardware or a sticking caliper. Do not touch the rotor directly. Arrange a qualified inspection.
Learning how to break in new brake pads and rotors properly helps create consistent contact between the friction surfaces, improve stopping performance, and reduce the risk of uneven wear, noise, or vibration. Before starting, inspect the installation, confirm that the wheels and caliper components are secure, and choose a dry, open road with light traffic. Make sure the brake pedal feels firm and that no warning signs, leaks, or unusual noises are present.
The initial bedding procedure should use several moderate stops from a safe speed, allowing brief acceleration between each stop without holding the pedal down. Avoid hard emergency braking unless necessary, and do not keep the vehicle stationary with the brake pedal pressed firmly while the brakes are very hot. After the first series, complete a final heat-cycling stage by driving gently to let the brakes cool naturally. Once cooled, check pedal feel, stopping response, rotor appearance, and any unusual sounds before returning to normal driving. If performance seems abnormal, have the braking system inspected.
